
How Do Installers Cut Luxury Vinyl Plank Around Cabinets and Walls?
Luxury vinyl plank flooring is one of the most popular options for homeowners who want durable, stylish new floors. Many people choose vinyl plank because it is easier to work with than hardwood, tile, or even laminate. Still, one question comes up during nearly every flooring project: how do installers cut luxury vinyl plank around cabinets and walls?
This complete guide explains the process professionals use when installing vinyl plank flooring and cutting pieces to fit around every edge of the room. When the cuts are done correctly, the floor looks seamless and clean, even around cabinets, doorways, and irregular walls.
Professional installers rely on planning, accurate measurements, and the right tools. Whether they are working with LVP flooring in a kitchen, living room, or hallway, the goal is always the same: a professional looking result that lasts for years.
In this guide, you will learn the tools installers use, the steps involved in cutting vinyl plank flooring, and practical tips that help avoid common installation mistakes.
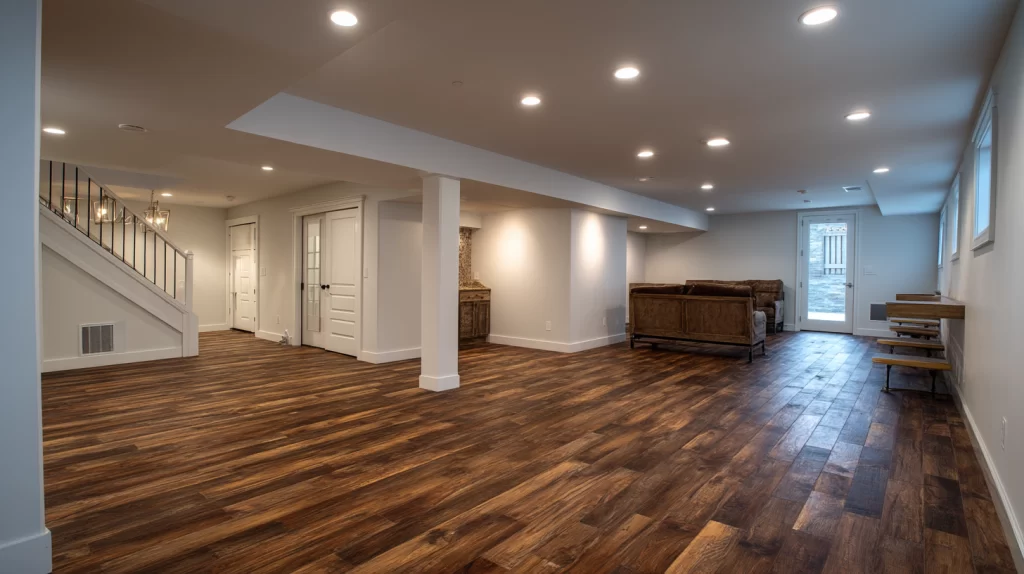
Why Cutting LVP Flooring Around Cabinets and Walls Requires Precision
When installing vinyl plank flooring, precision matters. A small mistake during the cutting process can cause gaps, misaligned boards, or stress on the locking system of the plank. Installers take extra care around cabinets and along every wall because these areas affect the entire layout of the floor.
Before the first plank is placed, installers plan the direction of the floor across the room. They decide where the first row will begin and how the last row will fall on the other side. This planning stage helps avoid narrow pieces that can weaken the floor and create visual imbalance.
Common Challenges Installers Face
Several obstacles make cutting vinyl plank flooring challenging. Cabinets, walls that are slightly uneven, doorways, pipes, and tight corners all require custom cuts. Installers must measure each space carefully so the plank fits without forcing the board into place.
Another challenge appears when walls are not straight. A wall might curve slightly across the length of the room, which means the plank must be scribed to follow that line. If the installer ignores this step, the floor may show uneven gaps after installation.
The Importance of Expansion Gaps
Vinyl plank and laminate flooring both require expansion space around the perimeter of the room. This gap allows the floor to expand and contract as temperature and humidity change. If the plank is cut too tight against a wall or cabinets, the floor may buckle or separate later.
Installers normally leave a small gap between the plank and the wall. Baseboard or trim will cover the space later, so the finished floor still looks smooth and secure.
Why Professionals Plan the Layout First
Planning the layout is one of the most important steps in installing vinyl plank flooring. Installers measure the width of the room and decide how many planks will fit across the floor. If the last row on the other side of the room would be less than half a plank, the first row may be trimmed slightly to balance the layout.
This careful plan ensures every plank fits properly and the installation looks symmetrical across the entire floor.
Tools Installers Use to Cut Luxury Vinyl Plank
The right tools make a big difference when cutting vinyl plank flooring. Professionals carry several tools designed to cut plank material cleanly without damaging the locking edges. Choosing the best tool depends on the type of cut required.
Basic Cutting Tools
For many straight cuts, installers use a utility knife and straight edge. The plank is placed on a stable table or work surface. The installer uses the blade to score along the line several times until the material weakens. Once the score line is deep enough, the plank will snap cleanly in half.
This score and snap method is one of the fastest ways to cut vinyl plank flooring and it works well for straight pieces along a wall or at the end of a row. The blade in the utility knife must remain sharp to ensure a clean score line.
Power Tools for Detailed Cuts
Some situations require more detailed cuts. Installers often rely on a jigsaw when they need to cut around corners, pipes, or irregular shapes. The jigsaw blade can follow curved lines easily, making it useful for shaping plank pieces around obstacles.
An oscillating tool is another helpful tool for flooring installation. Installers use it to trim doorways so the plank can slide underneath the casing. This step helps create a professional looking result with fewer visible gaps.
Circular saws or table saws may also be used when a long rip cut is required along the length of a plank. These tools help maintain straight lines when cutting larger boards.
Measuring and Templating Tools
Accurate measurements are essential during the installation process. Installers use a tape measure and pencil to mark cut lines before scoring or sawing the plank. A carpenter square or straight edge helps keep the line straight.
In complex areas, installers may create a template using cardboard. The template is placed against the wall or cabinet edge and traced. That outline is then transferred to the plank before cutting. This method helps avoid costly mistakes and reduces wasted material.
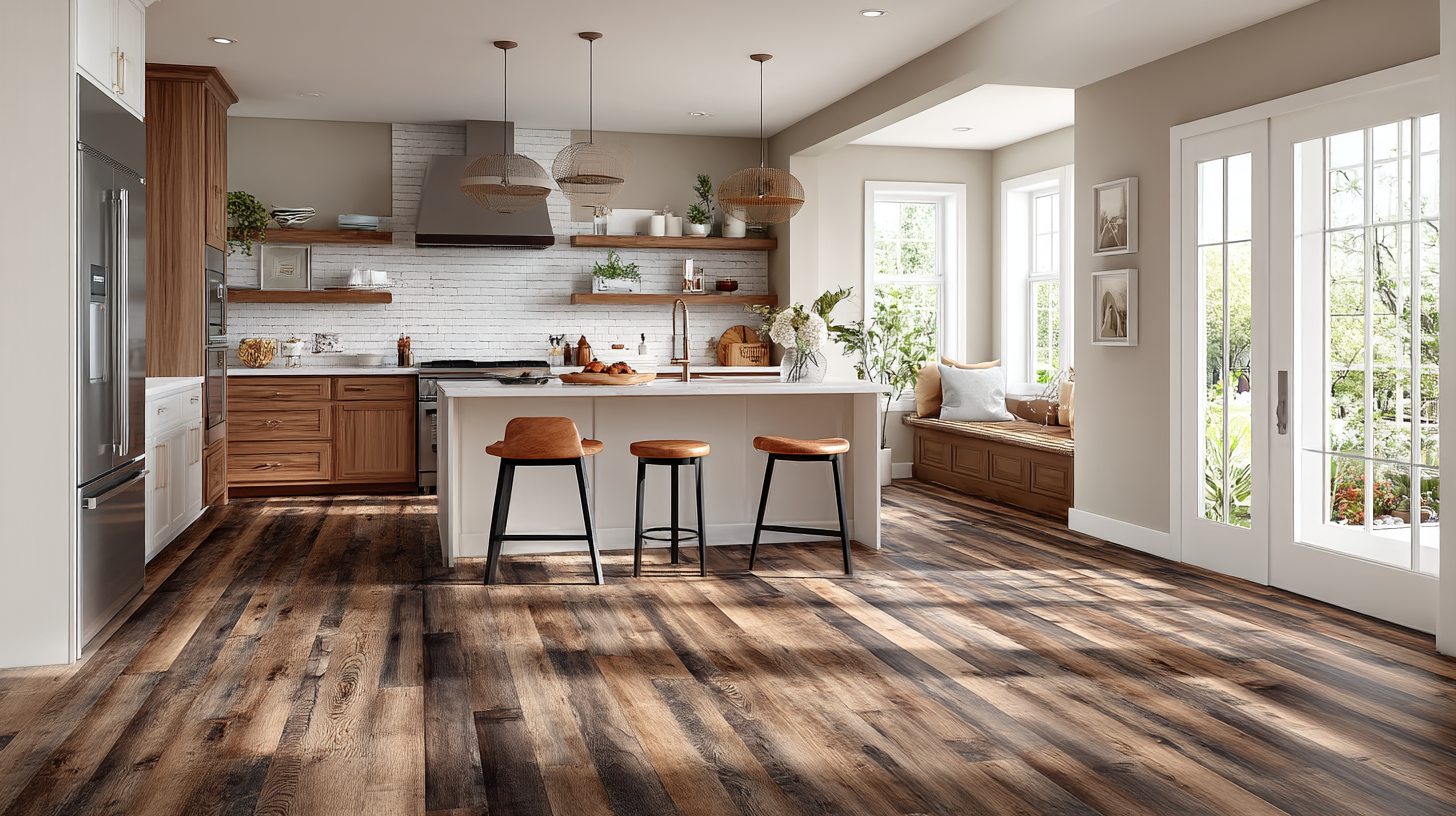
How Installers Cut LVP Around Kitchen Cabinets
Cutting vinyl plank around cabinets requires patience and careful measurements. Because cabinets are fixed in place, the plank must be shaped to fit the available space while maintaining the expansion gap.
Step 1 | Installing Cabinets Before Flooring
In many kitchens, the cabinets are installed before the floor. This approach prevents the weight of the cabinets from restricting the movement of the floating floor. After the cabinets are secured, installers begin installing vinyl plank flooring around them.
Step 2 | Measuring the Cabinet Footprint
The installer uses a tape measure to measure the distance between the last installed row and the cabinet base. Measurements must account for the toe kick area and any corners where the plank must wrap around the cabinet structure.
Step 3 | Marking Planks for Precise Cuts
After measuring, installers mark the plank using a pencil and straight edge. The cut line is drawn clearly so the installer knows where to score or saw the board. Proper marking prevents errors during the cutting process.
Step 4 | Cutting the Plank to Fit
Straight sections may be cut with a utility knife and straight edge. When the plank must wrap around a cabinet corner, the installer may use a jigsaw to cut an L shape from the board. The jigsaw blade allows precise control and helps maintain a clean line along the edge.
Step 5 | Hiding the Expansion Gap
Once the plank is installed, the expansion gap is usually hidden by trim pieces along the cabinet base. This finishing step helps secure the visual edge of the floor while allowing the plank to move naturally over time.
How Installers Cut Vinyl Plank Along Walls
Walls often require the most precise cutting because the final row must fit perfectly across the length of the room. Installers rely on several techniques to cut vinyl plank flooring so it follows the wall accurately.
Why Walls Are Rarely Perfectly Straight
Even in newer homes, a wall may shift slightly along its length. Older homes may have even more variation. Because of this, installers cannot assume the wall forms a perfectly straight line.
The Scribing Technique Professionals Use
Scribing is a technique used to transfer the shape of the wall onto the plank. The installer places the plank against the previous row and uses a spacer along the wall. A pencil traces the contour of the wall onto the plank.
After marking the line, the installer cuts along the mark using a utility knife or jigsaw. This process ensures the plank fits tightly along the wall without removing the expansion gap.
Cutting the Final Row of Planks
The final row often requires a rip cut along the length of the plank. Installers measure the distance between the wall and the previous row, subtract the expansion gap, and cut the plank accordingly.
A pull bar may be used to lock the final plank into place. The pull bar helps draw the board tight against the previous row without damaging the locking groove or tongue.
Covering the Edge With Baseboards
After installation, baseboards or trim pieces are reinstalled along the wall. These pieces cover the expansion gap and give the floor a finished appearance.
How Installers Handle Irregular Shapes and Obstacles
Rooms often contain obstacles that require custom cuts. Pipes, doorways, and corners require additional steps during installation.
Cutting Around Pipes and Plumbing
When a plank must fit around pipes, installers measure the pipe location carefully. A drill with the proper bit creates holes slightly larger than the pipe diameter.
After drilling the holes, the plank may be cut in half so it can slide around the pipe. Once installed, the pieces fit together and the pipe opening can be covered with a small trim ring.
Cutting Around Door Jambs and Trim
Instead of cutting the plank around door trim, installers often use an oscillating tool to trim the bottom of the casing. This allows the plank to slide underneath the doorway frame, creating a smoother appearance.
Using Templates for Complex Shapes
For unusual shapes, installers may create a template before cutting the plank. The template is placed against the obstacle and traced. This pattern is then transferred to the plank to guide the cut.
Templates help reduce waste and prevent mistakes when shaping plank pieces around corners or built-in structures.
Common Mistakes DIY Installers Make When Cutting LVP
Although vinyl plank flooring is considered DIY friendly, several mistakes can occur during installation. Understanding these issues helps homeowners avoid problems when installing new floors.
Cutting Planks Too Tight Against Walls
One common mistake occurs when installers cut the plank too tight against the wall. Without the proper gap, the floor cannot expand and may buckle later.
Forgetting Expansion Gaps
Expansion gaps should appear along every wall and around fixed objects. Missing this step can cause serious floor problems after installation.
Using the Wrong Cutting Tools
Using dull blades or incorrect tools can damage the plank edges. A sharp utility knife, jigsaw, or table saw usually produces the best results.
Damaging Locking Systems During Cuts
Each plank contains a tongue and groove locking system. If the board is forced into place, the locking edge may break, causing the floor to loosen over time.
Not Planning the Layout First
Another mistake occurs when installers skip the layout step. Without planning, the final row may be too narrow to secure properly.
Why Professional LVP Installation Makes a Big Difference
Professional installers follow a proven process when installing vinyl plank flooring. Their experience helps prevent errors and ensures the floor remains secure for years.
Cleaner Cuts and Tighter Visual Fit
Professionals know how to measure, mark, and cut each plank accurately. Their experience helps them avoid uneven lines and rough edges.
Faster Installation Time
An experienced installer can complete a flooring project much faster than most DIY attempts. They understand the tools and techniques needed to move through each step efficiently.
Preventing Long Term Flooring Issues
Proper installation protects the floor from shifting or separating. Accurate cuts help maintain the integrity of the locking system.
Expertise With Complex Spaces
Kitchens, hallways, and stair areas often contain challenging angles and obstacles. Professional installers have the tools and knowledge to handle these situations effectively.
Luxury Vinyl Plank Installation in Seattle Bellevue and Nearby Areas
Homeowners across the Seattle area often choose vinyl plank flooring for its durability and moisture resistance. LVP flooring performs well in busy households and works well on concrete subfloors commonly found in Pacific Northwest homes.
During installation, the planks must acclimate to the room before cutting begins. This acclimate step helps the material adjust to temperature and humidity before the floor is installed.
Many homeowners begin their flooring project by visiting a flooring store to compare laminate, tile, and vinyl plank options. Seeing samples in person helps them decide which color and texture will match their home.
After selecting the material, installers prepare the subfloor so the surface is clean and level. A smooth subfloor helps ensure each plank locks securely and the finished floor remains stable.
Frequently Asked Questions
Can luxury vinyl plank go under kitchen cabinets?
Most floating vinyl plank floors are installed around cabinets rather than underneath them. This approach allows the floor to expand naturally without being pinned in place.
What tool is best for cutting vinyl plank flooring?
The best tool often depends on the type of cut. A utility knife and straight edge work well for straight lines, while a jigsaw handles curved shapes and detailed cuts.
How much expansion gap should LVP have?
Most manufacturers recommend leaving about one quarter inch of space around the perimeter of the floor. This gap allows the plank to expand and contract as conditions change.
Can vinyl plank be cut after installation?
Small adjustments may be possible, but most cuts occur before the plank is locked into place during installation.
Do installers remove baseboards when installing LVP?
In many projects, installers remove baseboards so the plank can slide underneath the wall trim. After the floor is complete, the baseboards are replaced to cover the expansion gap.
Is cutting vinyl plank around cabinets difficult?
Cutting around cabinets can be difficult without experience. Accurate measurements and the right tools are necessary to achieve a professional looking result.
Final Thoughts: Getting a Perfect LVP Installation
Understanding how do installers cut luxury vinyl plank around cabinets and walls helps homeowners appreciate the skill involved in a successful flooring project. Careful measurements, proper tools, and thoughtful planning allow installers to cut vinyl plank flooring accurately and avoid common mistakes.
From scoring the plank with a utility knife to shaping pieces with a jigsaw, each step of the process contributes to the final appearance of the floor. When done correctly, the planks fit neatly across the room and create a smooth durable surface that lasts for years.
If you are planning new floors, watching installation video tutorials and reading professional tips can help you understand the process before starting your own project. Many installers share helpful video guides on their channel where viewers can watch each step and learn practical tricks for cutting plank flooring.
A well planned installation combined with precise cutting techniques ensures the finished floor looks clean, balanced, and secure throughout the entire room.