


Laminate flooring is a smart choice for many homeowners, offering a mix of beauty durability and ease of care, and installing laminate flooring or laying laminate flooring can become a satisfying flooring project if you follow good step by step instructions, tools and materials lists, and avoid common mistakes. At Best Floor Coverings we believe in guiding you through every stage of laminate flooring installation so your final floor looks great under your furniture and lasts through temperature changes.
Why Laminate Flooring Is a Top DIY Choice

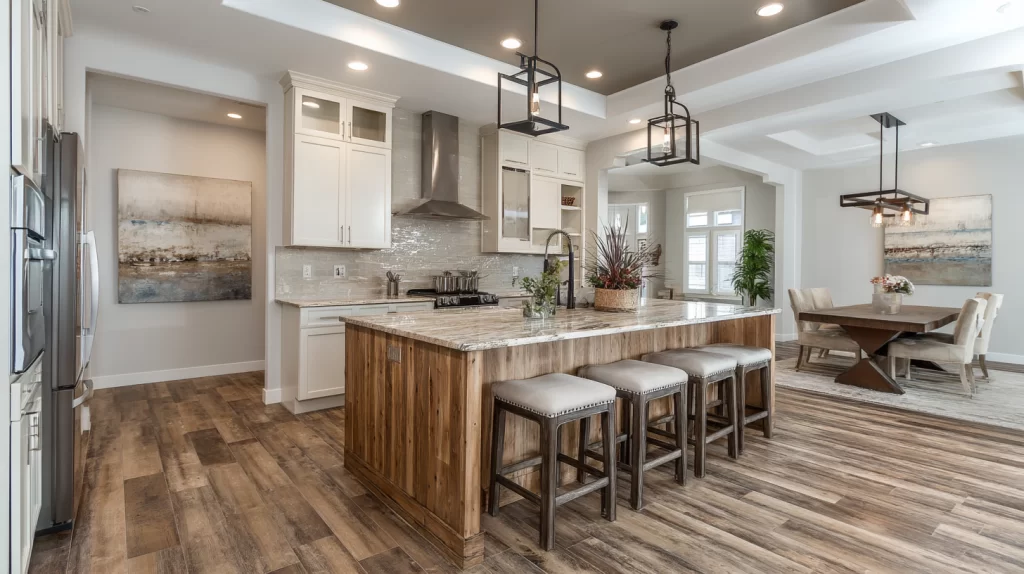
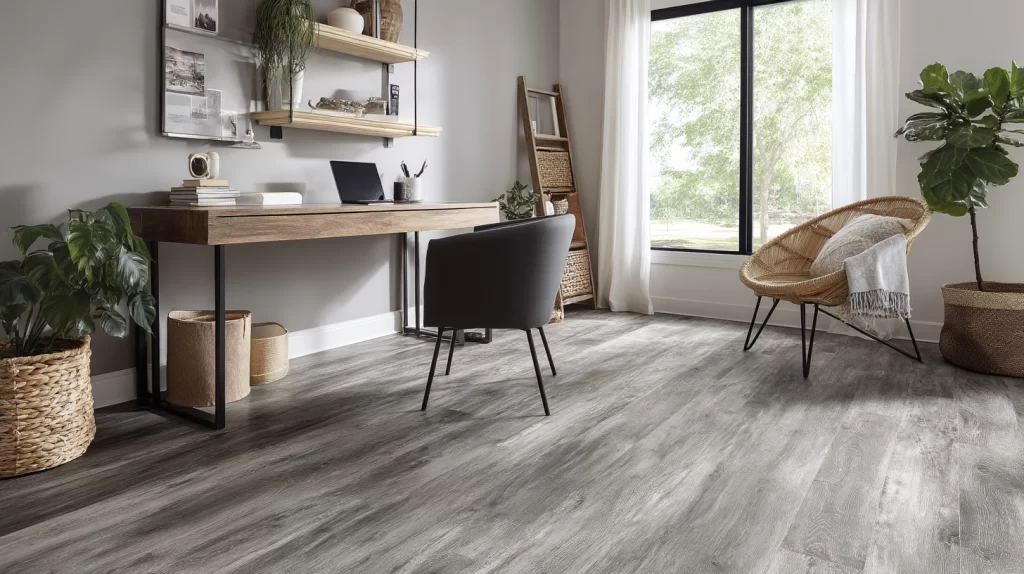
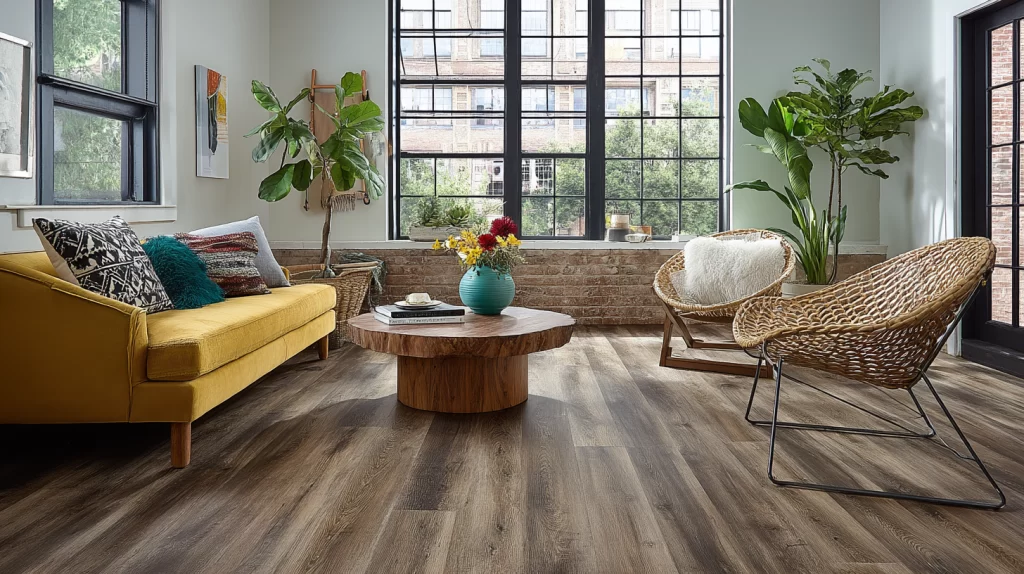
Laminate flooring installation offers many advantages. First it is more affordable than hardwood yet it delivers the look of wood with less worry about damage. Laminate planks are designed to lock and snap together, so you are not gluing or nailing, reducing complexity for DIYers. Laying laminate flooring in bedrooms family rooms or entryways gives you style durability and quick renovation results. And homeowners often enjoy that install laminate tasks can be done in a day or two depending on room size, once they know how to install laminate flooring properly.
Laminate flooring handles foot traffic well resists scratching and is easy to clean. With proper underlayment and moisture barrier use you protect against issues like warping or swelling. Best Floor Coverings offers guidance and professional install options so your flooring project starts well and ends perfectly.
Tools and Materials You Will Need for Installing Laminate Flooring
Before you begin laying laminate flooring gather your tools and materials so nothing slows you down during the install.
Essential Tools
You will need a pull bar to lock final pieces, a tapping block to protect plank edges when tapping boards together, spacers to maintain expansion gap, a saw (circular saw jigsaw or specialty laminate cutter) for trimming planks, a level to check the floor, measuring tape, chalk line for layout, rubber mallet or hammer with block, utility knife, safety gear (gloves eye protection), and possibly a handsaw or jamb saw for undercutting trim.
Required Materials
You need laminate planks plus about ten percent extra to account for cuts waste and pattern matching. Underlayment or foam pad or pad built in to laminate planks, vapor barrier especially over concrete subfloor, spacers, baseboards and trim or quarter round, transition strip for doorways connecting to other flooring types, glue or adhesive only if manufacturer requires it, and finish pieces for edges.
How to Prep Your Room Before You Lay Laminate Flooring
Proper preparation makes laminate flooring installation smoother and reduces problems later
Acclimate the Laminate Planks
Bring the new laminate planks into the room in which you will install laminate flooring at least forty eight hours before laying laminate. Let them sit flat in the room so they adjust to the temperature changes and humidity of that space. This helps boards expand or contract correctly so seams stay tight.
Prepare the Subfloor
Your subfloor must be clean dry and level before you install laminate. Remove old flooring carpet tile or damaged flooring. Patch any high spots low spots with leveling compound or sand where necessary. If installing over concrete or in a basement or moist area include a moisture barrier. Check that subfloor is solid without squeaks or loose boards. Remove baseboards and door trim so you can lay first row of laminate flooring flush and undercut doorways for clean edges.
Remove Baseboards and Trim
Remove the baseboards and trim around the room and undercut doorways so that planks slide underneath where possible. This gives a polished edge. Keep trim pieces to reattach later over the expansion gap so you cover space perfectly.
Laying Laminate Flooring Installation Step by Step
Now you install, following these steps for a strong long lasting floor. These step by step instructions take you through from first row to final touches.
Step 1: Plan Your Layout
Plan where to begin laying laminate flooring. Most pros recommend starting along the longest wall in the room for best visual effect. Also consider light direction same direction as main windows can help hide joints. Decide pattern if staggering seams is desired, so that end joints in second row do not align with first row. Measure width of room to know how wide final row will be after cutting. If final row will be very thin piece adjust plan so first row or second row has balanced widths.
Step 2: Install Underlayment and Moisture Barrier
If your laminate planks do not already have underlayment attached roll out underlayment across the entire subfloor. Use moisture barrier underneath or on top if needed over concrete or areas with moisture concerns. Tape or seam underlayment edges as manufacturer instructs. Make sure underlayment is smooth flat without wrinkles before you begin laying laminate flooring on top.
Step 3: Lay the First Row
Begin with first row along your chosen wall with groove or tongue side correctly oriented. Leave an expansion gap between first board edge and wall using spacers. Use straight edge or chalk line to keep first row straight. The first two rows are especially important to set layout for rest of floor. Cut the last board in first row lengthwise with saw to fit leaving gap at wall.
Step 4: Continue with Next Rows
Once first row is in place install second row and all subsequent rows next row at a slight angle and then snap or lock into place along long edge first then short side joints. Use tapping block and rubber mallet to gently tap boards so joints close firmly without damaging edges. Always stagger seams from previous row by at least six inches so joints do not line up. Use leftover cut pieces from one row to start another if size is sufficient to improve efficiency and reduce waste.
Step 5: Use the Pull Bar and Finish Final Row
When you reach final row you may have to rip boards lengthwise to fit. Use pull bar to connect last board tightly and maintain expansion gap at wall. Install last row carefully because boards might need trimming along long side or short side edges.
Trimming, Transition Strips and Finishing Touches
Remodeling style and finish depend on clean edges trim and transitions.
Remove Spacers and Reattach Baseboards or Trim
After flooring installation is complete remove spacers, then install baseboards or quarter round trim to cover expansion gap. Nail trim or baseboards to wall not to laminate planks or flooring itself. This allows laminate to float and move with temperature changes without buckling.
Add Transition Strip Between Rooms or Flooring Types
Where laminate flooring meets tile vinyl carpet or hardwood or any other flooring type install a transition strip so floor surfaces align cleanly. Use T‑molding or reducer type as needed. Transition strip covers the edge of the laminate planks and creates safe clean transitions at doorways.
Clean the Floor but Avoid Damp Mop Overuse
After install clean surface using vacuum broom or dust mop to pick up debris. If you must mop use a slightly damp mop not a soaked mop avoid standing water or flooding of joints. Never use steam cleaning. Dry immediately any moisture left behind. Protect from furniture scratching by felt pads under furniture. Wait recommended cure times if any manufacturer instructions state so.
Common Mistakes to Avoid During Laminate Flooring Installation
Knowing what to avoid helps you install laminate flooring well first time.
- Not leaving a proper expansion gap around walls fixed objects which causes buckling or warping after temperature changes
- Aligning joints of boards in rows directly above joints in previous row leads to weak seams and less stable floor
- Using wrong underlayment or skipping moisture barrier in moist or concrete subfloors leads to damage or mold or swelling
- Cutting planks incorrectly such as cutting finished side down instead of up causing splintered edges
- Starting first row out of square or without straight line use leads to visual irregularities and waves in flooring
- Installing over uneven subfloor or ignoring high spots leads to creaks or movement
- Using excess water when cleaning wash with damp mop or letting water sit in seams damages laminate flooring planks
When You Might Want to Hire Professionals for This Flooring Installation
While installing laminate flooring or laying laminate yourself is achievable in many cases some flooring projects require professional attention. If your subfloor needs major leveling or there are moisture issues or unusual layouts or stairs or many doorways or tight cuts it may make sense to have experts handle the project. Hiring a professional ensures quality trim work clean finish use of tools like pull bar tapping block correctly and warranty compliance.
Frequently Askedf Laminate Flooring Installation Questions
Do I need expansion gap when installing laminate flooring
Yes you always need expansion gap around edges walls doorways and other fixed objects so floor can expand contract with temperature changes without buckling.
Can I install laminate flooring over tile or vinyl or other flooring
Often yes if existing flooring is clean level stable and adheres well and if you use proper underlayment or moisture barrier but sometimes removal of existing flooring is better depending on the condition.
How long does laminate flooring take to install in a room
Depends on situation size shape prep but for average bedroom or living room you might finish install laminate flooring in a day or weekend project if everything goes smoothly.
Is underlayment always required for laminate installation
Not always if laminate planks have pre attached underlayment but otherwise underlayment plus moisture barrier are very important parts of installation to protect against moisture and improve comfort and acoustics.
What tools are essential for laying laminate flooring
Essential tools include saw pull bar tapping block spacers utility knife level measuring tape rubber mallet chalk line and safety gear.
Final Thoughts About Laminate Flooring
Installing laminate flooring properly makes your flooring project a success and ensures durability beauty and value. The key steps are preparing room well addressing the subfloor level and moisture barrier issues planning layout from first row through to final row using tools like pull bar tapping block maintaining expansion gap trimming and transitions carefully and avoiding damp mop overuse or overwatering and ensuring cleaning is gentle. If you follow these step by step instructions you install laminate flooring like a pro and your floors look great for many years. When ready Best Floor Coverings can help with free in home estimates full service install or just advice and support so your laminate flooring project goes smoothly and perfectly.