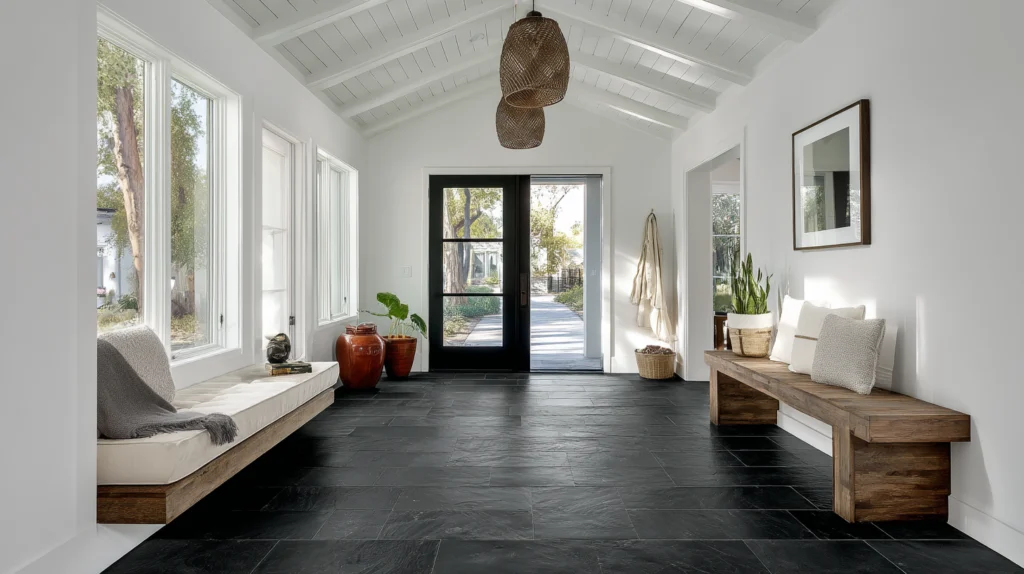

What Are Some Common Flooring Installation Problems and Fixes?
Noticed squeaks, gaps, or bubbling in your newly installed floor? You’re not alone. Many homeowners encounter issues shortly after their flooring project is complete. These problems often come from poor installation practices, rushed timelines, or improper preparation.
In this guide, we’ll walk you through the most common flooring installation problems and fixes across hardwood floors, tile flooring, laminate, and vinyl. Whether you’re planning a new floor installation or wondering what went wrong with your last one, understanding the leading causes of these issues will help you avoid costly mistakes and ensure a professional finish.
1 | Subfloor Problems: The Hidden Culprit Behind Most Floor Failures
Uneven or Damaged Subfloors
One of the most overlooked but critical steps in the floor installation process is preparing the subfloor. Poor subfloor preparation can lead to loose boards, hollow sounds, and shifting over time. Uneven or damaged subfloors cause gaps between planks, cracked tiles, or even buckling in hardwood floors. These are some of the most common flooring problems seen across installations.
A subfloor may look solid at first glance but still contain dips, soft spots, or moisture-related damage. If left untreated, these subfloor issues will show through any type of flooring material you install above.
Fix: Ensure your subfloor is clean, level, and structurally sound before the flooring installation begins. Use leveling compounds where needed and make sure no dirt, debris, or old adhesive remains. If subfloor repairs are needed, don’t skip them. Proper subfloor preparation lays the groundwork for a smooth, lasting result.
Moisture in the Subfloor
Excess moisture is another major threat that leads to warped hardwood planks, cracked tiles, and buckled vinyl. High humidity levels or water damage trapped under the floor surface encourages mold growth and weakens adhesives. Moisture damage is often invisible until your new floor starts to shift or discolor.
Fix: Always conduct moisture testing before installation. Moisture meters can detect hidden water issues in concrete slabs or plywood subfloors. If levels are too high, allow time for drying or install a vapor barrier. Professional assistance ensures these steps are not skipped and helps you maintain consistent indoor humidity levels moving forward.
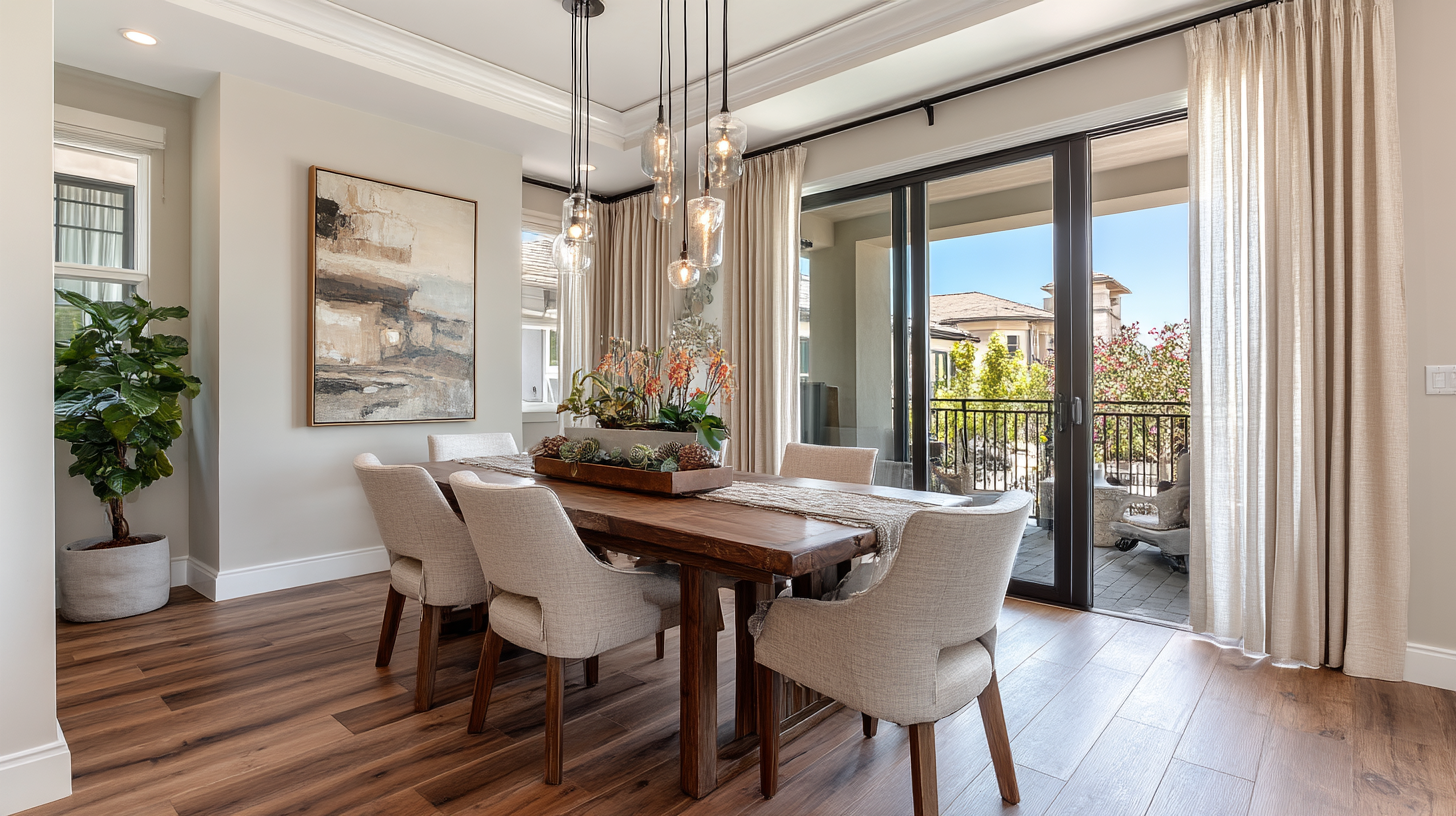
2 | Hardwood Flooring Issues and Fixes
Cupping, Buckling, and Gapping
Wood flooring is incredibly durable when installed correctly, but it’s also sensitive to its environment. Without proper acclimation, hardwood planks will expand or contract based on the room’s conditions. This leads to cupping (where edges curl upward), gapping between boards, or buckling.
Fix: Let hardwood planks acclimate in the home for at least 72 hours before installation. Provide expansion gaps around walls and fixed objects. If you notice gaps or buckling after installation, a professional may be able to sand or replace affected sections depending on the severity of the damage.
Squeaky or Loose Boards
Loose boards often result from fasteners that miss the floor joists or from movement in the subfloor. Over time, this causes annoying squeaks and an unstable feel underfoot. It’s one of the most common flooring installation problems and fixes homeowners need after a rushed install.
Fix: Secure subfloors properly before laying hardwood, using adhesive and screws to minimize movement. If the floor is already installed, affected boards may need to be removed and reset. Wood filler can be used to close small gaps or fix minor cosmetic damage once the structure is sound.
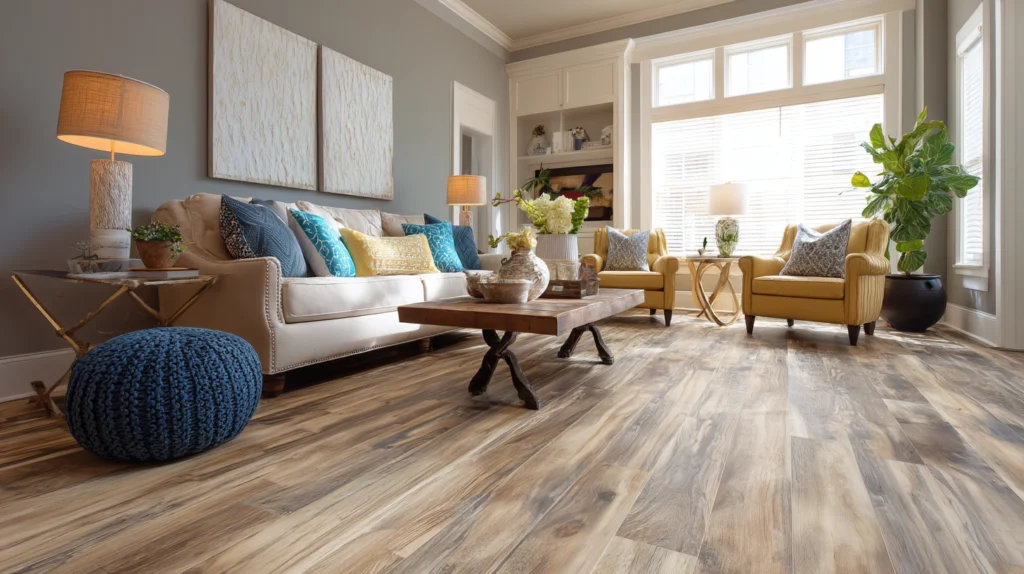
3 | Laminate and Vinyl Plank Problems
Bubbling, Warping, and Gaps
Laminate and vinyl are popular for their durability and style flexibility, but they’re still vulnerable to improper installation. Without expansion gaps, these floating floors may buckle or warp. Bubbling often results from excess moisture or uneven subfloors, and gaps appear when the locking system isn’t engaged correctly.
Fix: Leave at least a quarter-inch expansion gap around the perimeter during installation. Use underlayment to cushion and protect the flooring material. If you find gaps or bubbles, you may need to remove affected sections and reinstall with better alignment. Moisture testing is key before placing any floating floor system.
Noise and Movement
Floors that move or make clicking sounds when walked on are often installed over an uneven subfloor. Laminate, in particular, relies on the subfloor for stability since it isn’t nailed or glued down.
Fix: Re-level the subfloor and use proper underlayment to reduce sound and absorb minor imperfections. Installers must follow the flooring manufacturer’s instructions to ensure proper alignment and support.
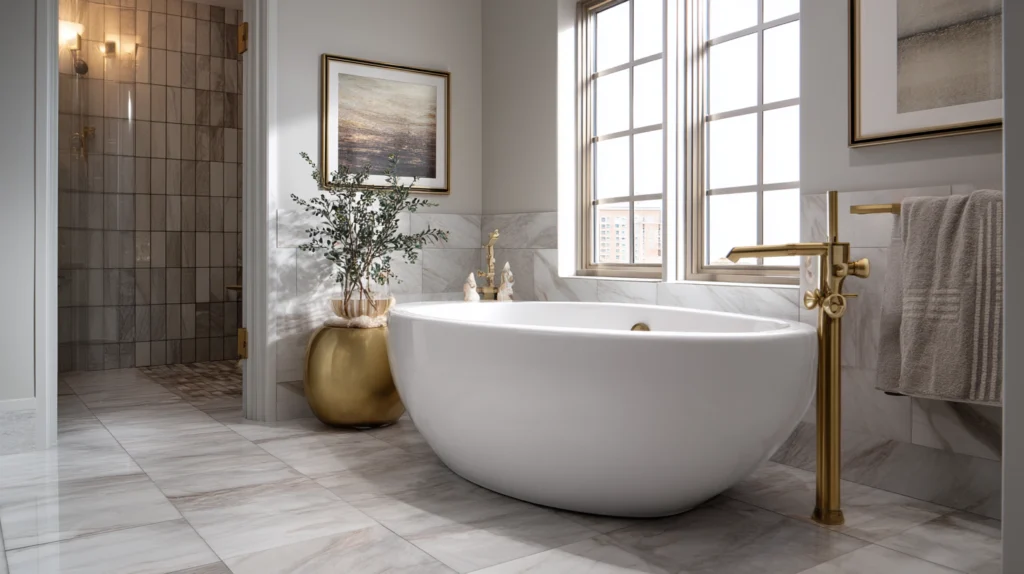
4 | Tile Flooring Installation Mistakes
Cracked Tiles and Grout Lines
Tile flooring is incredibly durable but requires precision during installation. Cracked tiles and crumbling grout are signs of movement beneath the surface, usually due to poor subfloor preparation or incorrect mortar use. Heavy impacts or natural settling of the home can also cause cracks if the installation wasn’t done properly.
Fix: Replace cracked tiles and inspect the subfloor for flexing or damage. Ensure consistent tile height by using tile leveling systems and a thick enough layer of mortar. Grout must be fully cured and sealed to resist stains and discoloration. Regular cleaning with non-abrasive products helps maintain the look of tile flooring long-term.
Uneven Tiles and Lippage
Lippage refers to height differences between adjacent tiles, and it creates trip hazards and aesthetic issues. It’s often caused by poor mortar coverage or uneven subfloors.
Fix: Self-leveling underlayments should be used on the subfloor before tile installation. Tiles must be aligned using leveling spacers, and proper trowel technique ensures even mortar distribution. Following the manufacturer’s recommendations for trowel size and product compatibility is crucial.
Loose Tiles or Hollow Sounds
If you hear a hollow sound when tapping on a tile, chances are the adhesive didn’t bond properly. This leads to shifting and eventually cracked tiles or grout.
Fix: Remove loose tiles and reapply the correct adhesive using the proper tools. Back-buttering each tile ensures better contact and reduces the risk of future movement.
5 | Installation Technique Errors to Watch For
Skipping Acclimation
One of the most common flooring installation problems happens before the flooring material is even installed. If laminate, hardwood, or vinyl is laid before it adjusts to the room’s temperature and humidity, warping and gapping are almost guaranteed.
Fix: Allow time for proper acclimation. Leave boxes open in the installation room for at least 48 to 72 hours. This helps stabilize the material with the room’s conditions and prevents movement after installation.
Using the Wrong Adhesive
Not all adhesives are created equal. Using the wrong type for the floor or the subfloor can lead to delamination, staining, and adhesive failure. This is especially common in vinyl or wood installations.
Fix: Always follow the flooring manufacturer’s instructions. Adhesives must be compatible with the material and environmental conditions. Professional help ensures the right product is used at the right quantity and spread rate.
Poor Layout or Transitions
A bad floor layout shows in the details, crooked rows, awkward cuts at doorways, or mismatched floor color across rooms. These mistakes don’t just look bad, they may affect the floor’s long-term stability.
Fix: Plan ahead. Start with a detailed layout and measure twice before every cut. Align planks or tiles from the most visible wall and avoid thin slivers at the edges. Use proper transition strips and thresholds between different flooring materials.
6 | How to Prevent These Problems: Homeowner Checklist
Whether you’re hiring pros or managing your own flooring project, these steps help prevent common flooring installation problems:
- Ask if your contractor performs moisture testing before installation
- Confirm whether flooring materials will be acclimated on-site
- Ensure the subfloor is clean, level, and dry
- Verify adhesives and underlayments meet manufacturer’s recommendations
- Maintain consistent indoor humidity levels during and after installation
If you’re unsure at any stage, seek professional help. A trusted flooring contractor will guide you through material selection, preparation, and proper installation techniques so your floors look great and last for years.
FAQs – Flooring Installation Problems
Why is my new floor already squeaking?
Squeaks are usually caused by movement between boards or a subfloor that isn’t secured properly. Loose boards need to be refastened or reinstalled to stop the noise.
What happens if a floor isn’t acclimated properly?
Wood flooring and laminate can expand or shrink after installation if not acclimated. This results in gapping, buckling, or warping.
Can flooring be reinstalled if done wrong the first time?
Yes, though it may require removing affected sections or replacing materials altogether. A second installation done right can still produce a professional finish.
Is moisture testing really necessary?
Absolutely. Skipping moisture testing can lead to warping, mold growth, or adhesive failure, especially over concrete or in high humidity areas.
How do I know if my subfloor needs repair?
Signs include uneven floors, soft spots, and squeaking. Poor subfloor preparation is a leading cause of post-installation problems.
Final Thoughts
Many homeowners assume a floor installation is simple, but there’s a lot more to it than laying boards or tiles. The installation process must include proper acclimation, subfloor preparation, moisture testing, and strict adherence to the manufacturer’s instructions.
By understanding the most common flooring installation problems and fixes, you’ll be better equipped to avoid expensive repairs, protect your investment, and get the professional finish you deserve.
If you’re planning a flooring project and want results that last, don’t cut corners. Choose a team that handles every detail, because what’s under your floor matters just as much as what’s on top.