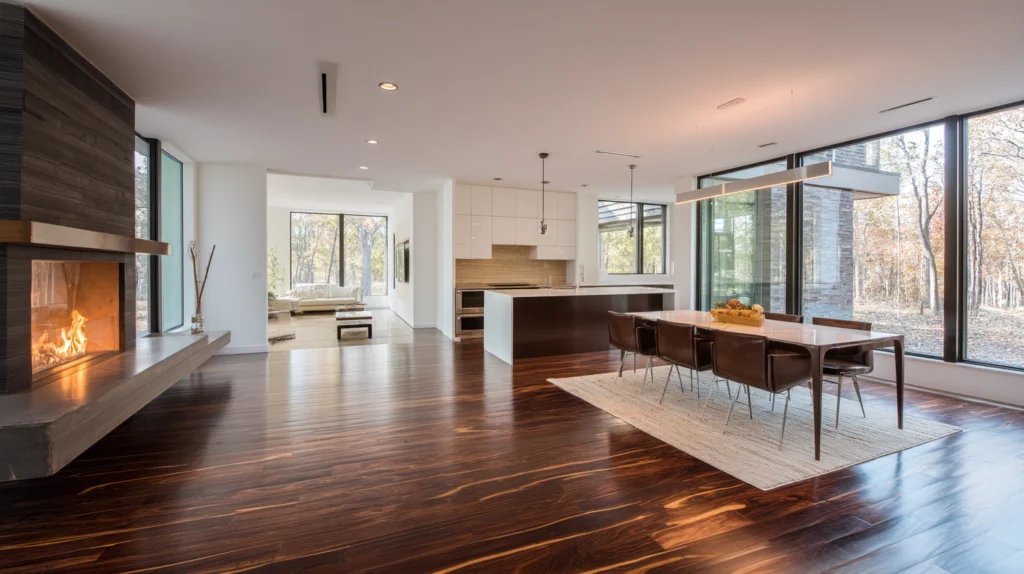


Hardwood flooring never goes out of style. It brings warmth, natural beauty, and long‑term value to your home. But the secret to beautiful wood floors isn’t just choosing the right look, it’s the installation process that truly makes them shine. Whether you’re a DIY enthusiast or planning to hire professionals, understanding how to install hardwood floors correctly is essential. In this complete guide, we’ll walk you through everything from preparation to the final touches so your new flooring looks flawless and lasts for decades.
Why Proper Hardwood Floor Installation Matters
Installing hardwood floors takes patience, precision, and the right materials. A properly installed hardwood floor will stay level, resist moisture, and maintain its stunning appearance even in Seattle’s humid climate. Done incorrectly, though, it can lead to problems like gaps, squeaks, or cupping. The good news is that by following the right steps and understanding what’s involved in hardwood floor installation, you can achieve a professional‑quality result.
Choosing the Right Type of Hardwood Flooring
Before you install hardwood, it’s important to select the right material for your home. There are two main types: solid and engineered hardwood.
Solid hardwood is made from a single piece of wood. It’s durable, can be sanded and refinished multiple times, and gives you that classic feel underfoot. However, solid wood floors can expand and contract with changes in humidity, which is why they’re best used in above‑grade rooms with controlled environments.
Engineered hardwood features a real wood veneer over layers of plywood or high‑density fiberboard. It’s more stable, especially when installed over a concrete slab, and it’s perfect for basements or rooms with radiant heat systems. The top layer still gives you the look of authentic wood flooring, but with added resilience.
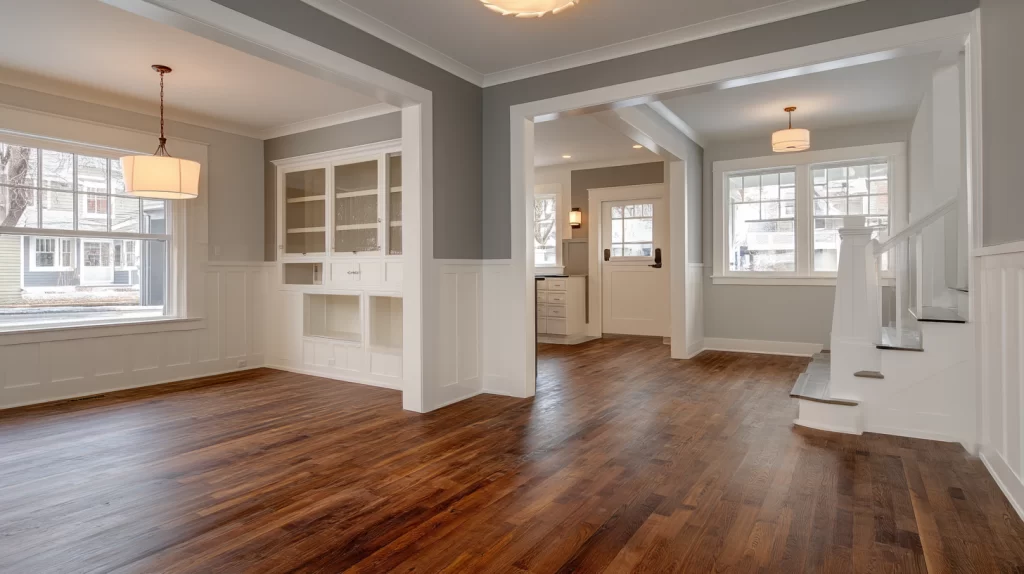
When choosing your material, consider your lifestyle, the location of the room, and your preferred wood species such as oak, hickory, walnut, or cherry. Each has its own color, grain, and hardness level that affects both aesthetics and durability.
Preparing for Installation

Acclimating the Wood
Before installing hardwood floors, always let the boards acclimate to your home’s environment. Stack the unopened boxes in the room for at least three to five days. The temperature should remain between 65 and 75 degrees Fahrenheit, with humidity around 35 to 55 percent. This allows the wood to adjust, helping to prevent gaps or buckling after installation.
Inspecting and Preparing the Subfloor
A smooth, stable subfloor is the foundation of every quality hardwood floor. Begin by removing any existing flooring such as carpet, tile, or laminate flooring. Check the subfloor for high spots, low spots, and moisture issues. The surface must be clean, dry, and flat within 1/8 inch over a six‑foot span.
If you’re installing over a wood subfloor, make sure all floor joists are sturdy and the plywood is securely fastened. For a concrete slab, test for moisture and ensure it’s completely dry before starting. If necessary, use a vapor barrier to protect against moisture migration. Address any low spots with leveling compound and sand down high spots for a perfectly even surface.
Gathering Tools and Materials
To install hardwood floors efficiently, you’ll need:
- Flooring nailer and nails or staples
- Measuring tape and chalk line
- Circular saw or miter saw
- Red rosin paper or underlayment
- Hammer and pry bar
- Wood putty for filling nail holes
- Floor spacers
- Safety gear
Follow the manufacturer’s instructions for your chosen flooring type and always check that your subfloor and materials meet their installation guidelines.
Step-by-Step: How to Install Hardwood Floors
Step 1: Plan the Layout
Start by measuring the square footage of the room to calculate how much flooring you’ll need. Add about 10% extra to account for waste and irregular cuts. Decide the direction of the boards. Most homeowners prefer to lay boards parallel to the longest wall or the direction of natural light. Use a chalk line to mark your starting wall so your layout stays straight. Planning ahead helps ensure even end joints and a balanced look once the installation is complete.
Step 2: Install the First Row
Lay down red rosin paper or an underlayment over the subfloor to reduce noise and act as a moisture barrier. Begin at your starting wall and position the first board with the tongue side facing the wall. Leave a 1/2‑inch expansion gap between the boards and the walls to allow for natural movement. Use flooring nails or staples to secure the first row, placing each fastener every 6 to 8 inches. Where the flooring nailer can’t reach, face nail by hand using finishing nails. Fill any holes later with matching wood putty for a seamless finish.
Step 3: Continue Laying the Boards
Once the first row is set, continue installing hardwood floors across the room. Stagger the end joints by at least 6 inches to create a natural pattern and strengthen the floor’s structure. Use the flooring nailer to secure each board, ensuring the nails enter through the tongue at an angle. Tap the boards gently together with a mallet and tapping block to eliminate gaps between seams. Always check alignment against your chalk line as you move across the floor.
If you need to cut boards to fit at the end of a row, measure carefully and trim with a saw. Save shorter pieces to start the next row, this helps maintain staggered joints.
Step 4: Fitting Around Obstacles
When you reach door jambs, vents, or corners, precision cutting is key. Undercut the door jambs so the boards slide neatly underneath, maintaining that 1/2‑inch expansion gap. Around obstacles, measure and cut accurately before laying the pieces in place. If your installation crosses multiple rooms or hallways, use transition strips for a smooth and professional look between different flooring areas.
Step 5: Installing the Final Rows
As you near the opposite wall, space becomes tighter, and the flooring nailer might not fit. Here, you can face nail the boards carefully by hand. For the final row, measure the width of the remaining space and rip‑cut the boards to fit. Leave an expansion gap at the perimeter, then nail or glue the boards into place. Once everything is installed, remove spacers and prepare for finishing touches.
Finishing the Installation
Adding Baseboards and Shoe Moulding
To cover the expansion gap and give your floor a polished look, reinstall or add new baseboards and shoe moulding around the room’s perimeter. Nail them to the wall, not the floor, so your hardwood can expand and contract freely. If necessary, use wood putty to fill nail holes and touch up the paint afterward.
Filling Gaps and Holes
Inspect the finished floor closely for any small nail holes or surface imperfections. Use matching wood putty to fill and smooth these areas. Once dry, lightly buff the surface for an even appearance. If you installed unfinished wood, now’s the time for sanding, staining, and sealing to achieve the desired color and protection.
Cleaning Up
After installing hardwood floors, vacuum or sweep thoroughly to remove sawdust and debris. Avoid using water at this stage, the floor should remain completely dry. For prefinished flooring, a dry microfiber mop is enough to make the new floors shine.
Tips for Long-Term Hardwood Floor Care
After all the effort of the installation process, protecting your investment is essential. Keep indoor humidity balanced to prevent the wood from shrinking or swelling. Place rugs in high‑traffic areas to reduce wear and use felt pads under furniture legs. Sweep or vacuum regularly and clean with a wood‑safe cleaner instead of water. Avoid dragging heavy furniture across the floor to prevent scratches.
If you ever notice dullness, scratches, or worn areas, refinishing can restore your hardwood floor to its original beauty. Solid wood floors can be sanded and refinished multiple times over their lifespan, giving them decades of use.
Common Hardwood Installation Mistakes to Avoid
Even a small oversight during installation can cause big problems later. Watch out for these common mistakes:
- Skipping acclimation: Installing wood before it adjusts to your home’s environment can cause expansion or gaps.
- Ignoring moisture testing: Always verify that your subfloor, especially if it’s concrete, is dry enough for installation.
- Forgetting the expansion gap: Without space for movement, the floor may buckle.
- Not following manufacturer’s instructions: Each product has specific requirements for adhesives, nails, and underlayment.
- Uneven subfloor: Low spots and high spots lead to squeaky or uneven floors over time.
Hiring professionals helps prevent these costly errors and ensures your hardwood flooring looks perfect from day one.
Why Homeowners Trust Best Floor Coverings
When you install hardwood floors, you want them to look flawless and perform for years. At Best Floor Coverings, we bring craftsmanship, experience, and care to every project. Our team handles the entire installation process, from removing existing flooring to leveling subfloors and perfecting every last row.
As a family‑owned company serving Seattle, Bellevue, and surrounding communities, we take pride in treating each house like our own. We help you choose the right flooring, handle the measurements, and ensure each board is laid with precision. Whether you need new hardwood, refinishing, or even subfloor repair, our professionals deliver stunning results every time.
FAQ: Hardwood Floor Installation
How long does it take to install hardwood floors?
The timeline depends on room size and prep work. For an average‑sized room, the installation process typically takes two to three days. If your subfloor needs leveling or you’re finishing the surface afterward, allow additional time for drying and cleanup.
Can I install hardwood flooring over a concrete slab?
Yes, engineered wood flooring can be glued directly to a concrete slab if it’s completely dry and flat. Always use a vapor barrier and follow the manufacturer’s instructions.
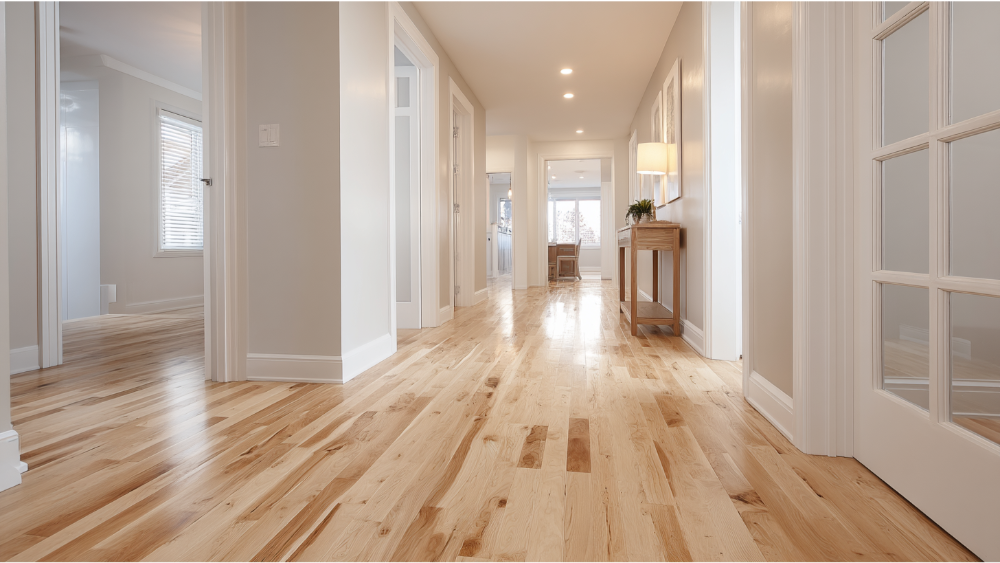
What’s the best wood for Pacific Northwest homes?
Due to humidity, engineered hardwood is ideal. Oak, hickory, and walnut are durable and adapt well to Seattle’s climate.
Can I install hardwood floors myself?
DIY installation is possible, especially for floating floors. However, nail‑down or glue‑down methods require skill, precise measuring, and the right tools. A professional installer ensures your floors are secure and long‑lasting.
Do I need underlayment for hardwood flooring?
Yes, underlayment like red rosin paper or foam padding provides sound insulation and moisture protection. It also creates a smoother surface between the subfloor and the finished floor.
How much does hardwood floor installation cost?
Costs vary depending on materials, square footage, and prep work. Solid hardwood generally costs more than engineered products, but both add significant value to your home.
Ready to Transform Your Home with Hardwood Floors?
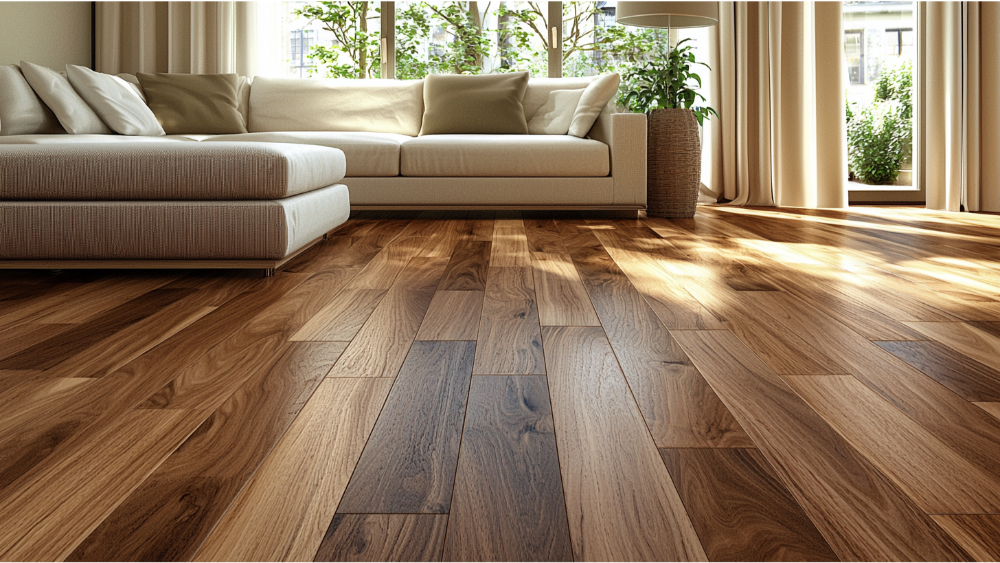
There’s nothing quite like walking across a smooth, gleaming hardwood floor that you helped bring to life. With proper preparation, the right tools, and professional guidance, you can install hardwood floors that enhance the beauty, comfort, and value of your home.
If you’re ready to upgrade your flooring, Best Floor Coverings is here to help. We offer shop‑at‑home convenience, expert installation, and guaranteed quality so you can enjoy your new floors with complete confidence.
Contact our team today to schedule a free in‑home consultation and discover how we can bring your flooring vision to life. Let’s make your home even more beautiful, one plank at a time.