


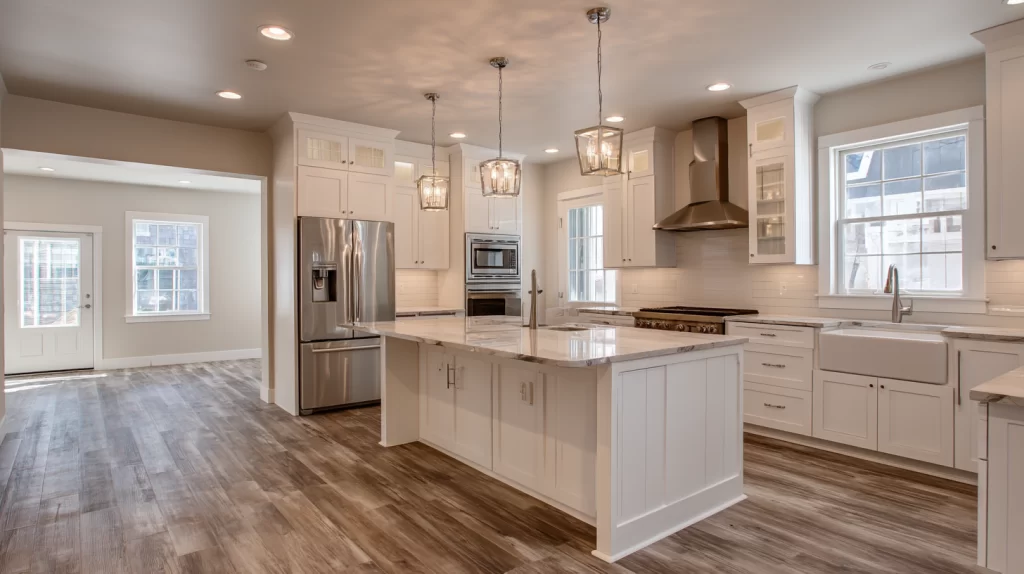
Installing vinyl plank flooring is one of the most popular home improvement projects today, and it’s easy to see why. With realistic textures, waterproof options, and simple installation methods, vinyl plank flooring offers the perfect balance between style, performance, and affordability. Whether you’re replacing old carpet, upgrading from tile, or covering a concrete floor, luxury vinyl plank flooring can transform any space in your home.
At Best Floor Coverings, we help homeowners across Kirkland, Bellevue, Seattle, and nearby areas choose and install the perfect plank flooring for their homes. In this guide, we’ll walk you through everything you need to know about installing vinyl plank flooring, from selecting the right materials to finishing your last plank with confidence.
Why Vinyl Plank Flooring Is So Popular in 2025
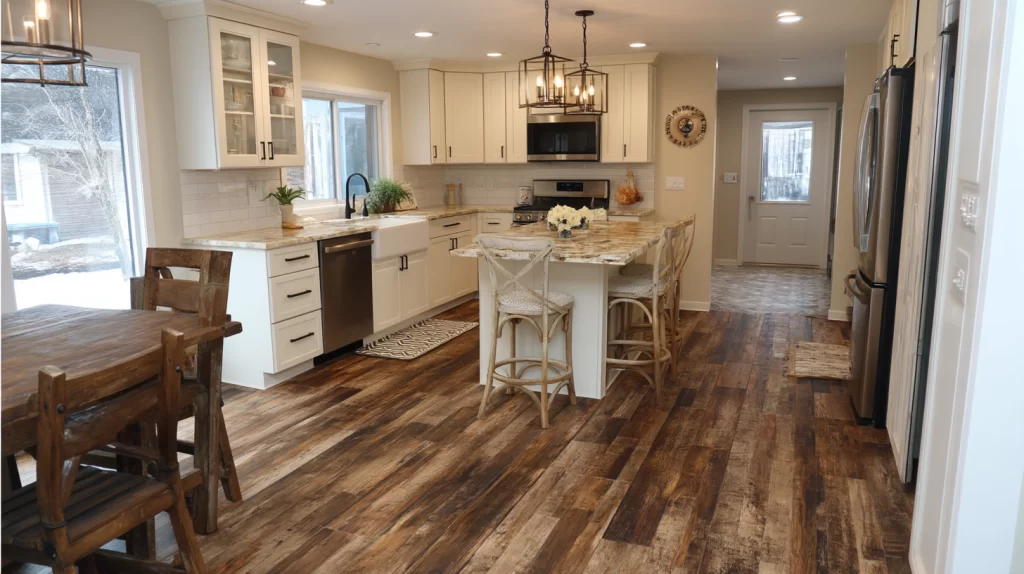
Vinyl plank flooring is engineered to mimic the natural look of hardwood or stone while offering a more durable, water-resistant, and budget-friendly option. It’s a smart choice for families, pet owners, and anyone who wants beautiful floors without constant upkeep.
Some benefits of luxury vinyl plank flooring include:
- Water resistance or full waterproof protection
- Easy maintenance and cleaning
- Scratch and dent resistance
- A wide variety of styles, colors, and finishes
- Easy to install over existing floors or subfloors
This versatility makes vinyl plank flooring ideal for nearly every room in your house, including kitchens, bathrooms, laundry rooms, basements, and even stairs.
Types of Vinyl Plank Flooring
Before you install vinyl plank flooring, it’s important to understand the different options available. Not all vinyl planks are created equal, and choosing the right product can impact your installation and long-term satisfaction.
Floating Vinyl Plank Flooring
Floating vinyl plank flooring uses a click-lock mechanism to connect planks, allowing them to “float” over your existing floor or subfloor. This is one of the most common and user-friendly options, especially for a DIY project.
Glue-Down Vinyl Planks
Glue-down plank flooring requires either pressure-sensitive or full-spread adhesive to secure the planks directly to the subfloor. This method is ideal for high-traffic areas but requires more prep work and time.
Peel-and-Stick Vinyl Plank
Some vinyl planks come with a built-in adhesive backing. Just peel and stick, it’s that simple. While this method is fairly easy, it’s typically best for small spaces or temporary upgrades.
Planning Your Vinyl Plank Installation
A successful installation starts with careful planning. Before you lay your first row, make sure to:
Measure Your Room
Use a tape measure to determine the square footage of your room. Be sure to account for closets, corners, and alcoves. Always order 10% more flooring than your measured space to allow for cuts and waste, especially if you’re working with different boxes or installing vinyl plank flooring in multiple rooms.
Acclimate Your Planks
Allow your vinyl planks to sit in the room where they’ll be installed for at least 48 hours. This helps them adjust to the room’s temperature and humidity, reducing the risk of expansion or contraction after installation.
Prepare the Subfloor
A clean, flat, and dry subfloor is essential. Remove any old carpet, nails, or staples. If you’re working over a concrete floor, check for moisture and cracks. Use self-leveling compound to fix low spots and ensure a uniform appearance across the entire floor.
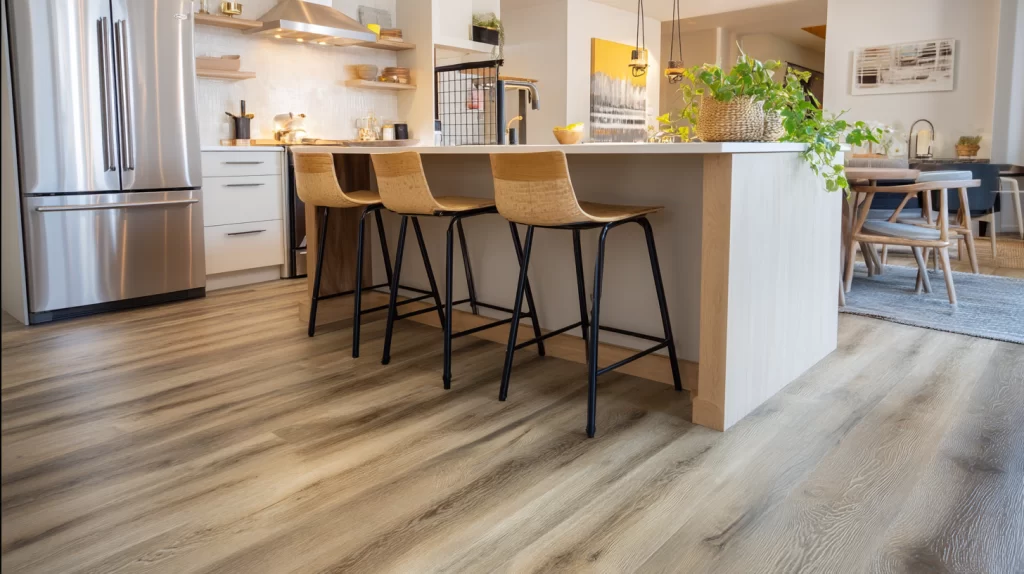
Choose a Layout
Start your layout along the longest wall of the room. This creates a more uniform appearance and visually elongates the space. Use a scrap piece of vinyl plank to test how your first row will line up and plan any cuts in advance.
Tools and Materials You’ll Need
Installing vinyl plank flooring doesn’t require many specialized tools, but having the right items on hand will make the job smoother and faster:
- Utility knife or miter saw (for cutting planks)
- Knee pads (to protect your knees)
- Spacers (to maintain expansion gaps along the outer wall)
- Tapping block and rubber mallet (to help snap planks into place)
- Straight edge or T-square (for accurate cuts and straight lines)
- Construction adhesive (if using glue-down planks)
- Underlayment (if recommended by the manufacturer’s instructions)
Step-by-Step: How to Install Vinyl Plank Flooring
Step 1: Clean the Surface
Vacuum and sweep the area thoroughly. Remove baseboards if necessary and clean any debris or dust. A smooth surface is crucial for a professional-looking job.
Step 2: Install Underlayment (If Required)
Some vinyl flooring comes with attached underlayment. If not, and if your subfloor requires it, roll out the underlayment before laying your first plank. Follow the manufacturer’s instructions for compatibility.
Step 3: Begin with a Dry Run
Lay out a dry run of your first row to test fit the planks. Stagger the seams for a more natural wood appearance and to add strength. Use a tapping block and rubber mallet to click the planks together securely.
Step 4: Cut the End Pieces
Use a utility knife or miter saw to trim end pieces. Measure carefully to ensure each last plank fits snugly without forcing. Always leave a 1/4-inch gap between the plank and the wall to allow for natural expansion.
Step 5: Continue Row by Row
Start each next row with a plank that is at least 6 inches shorter or longer than the plank in the row before. This staggered pattern helps create stronger joints and a more realistic look. Tap each plank into place and ensure tight seams.
Step 6: Navigate Door Jambs and Corners
Use a jamb saw or undercut saw to trim door jambs so the planks can slide underneath. This gives a cleaner finish and avoids awkward cuts. Be patient around closets and corners, precise cuts make a big difference in the final result.
Step 7: Install Trim and Quarter Round
Once your flooring is installed, replace or reinstall your baseboards and add quarter round if needed. These finishing touches cover the expansion gap and create a polished edge along every wall and door.
Tips for Better Results
- Always follow the manufacturer’s instructions for your specific flooring type.
- Mix planks from different boxes to avoid color variation.
- Avoid laying vinyl plank flooring over soft or damaged existing floors.
- Use caulk around bathrooms or laundry rooms for added moisture protection.
- Keep the room temperature stable for the first 48 hours after installation.
Common Mistakes to Avoid
Even though vinyl plank installation is considered a fairly easy DIY project, these common mistakes can compromise your results:
- Skipping subfloor prep
- Not staggering seams
- Forgetting to use spacers near the outer wall
- Not checking for flatness or low spots in the subfloor
- Using the wrong type of adhesive or not enough construction adhesive
- Rushing through tight areas like door jambs and closet corners
Can You Install Vinyl Plank Flooring Over Existing Floors?
Yes, you can often install vinyl plank over tile, hardwood, or even laminate as long as the existing floor is level, dry, and free of major damage. Just make sure to clean the surface thoroughly and consider a thin underlayment if recommended. In some cases, a skim coat or leveling compound may be needed to smooth out grout lines or imperfections.
Installing vinyl plank flooring over a concrete floor is also possible. Use a moisture barrier or underlayment designed for concrete and check the floor for cracks or uneven sections before you begin.
DIY vs. Professional Installation
While many homeowners successfully install vinyl planks themselves, hiring a professional can save time and ensure a flawless finish. Professional installers handle tricky transitions, subfloor prep, precise cutting, and all the finishing details like trim and transitions. Plus, they’ll ensure your flooring warranty stays intact by following all manufacturer’s instructions.
At Best Floor Coverings, we take the stress out of installation. Our certified team brings the showroom to your home, helps you plan every detail, and delivers expert results that last.
How Much Does It Cost to Install Vinyl Plank Flooring in 2025?
The cost to install vinyl plank flooring depends on the product type, the size of the room, and the condition of your existing floors or subfloor.
- Vinyl plank materials: $2–$6 per square foot
- Luxury vinyl plank: $5–$12 per square foot
- Installation labor: $2–$5 per square foot
- Additional costs: Subfloor leveling, trim, quarter round, baseboard removal or replacement
A typical job can range from $1,000 to $10,000 or more depending on square footage, complexity, and flooring materials chosen. We offer clear, upfront estimates and never surprise you with hidden fees.
Maintaining Your New Vinyl Plank Floors
Vinyl flooring is low-maintenance, but following a few simple tips can keep your floors looking brand new:
- Sweep or vacuum regularly
- Use vinyl-safe cleaning products
- Avoid excessive water or steam mops
- Use felt pads on furniture legs
- Place rugs in high-traffic areas
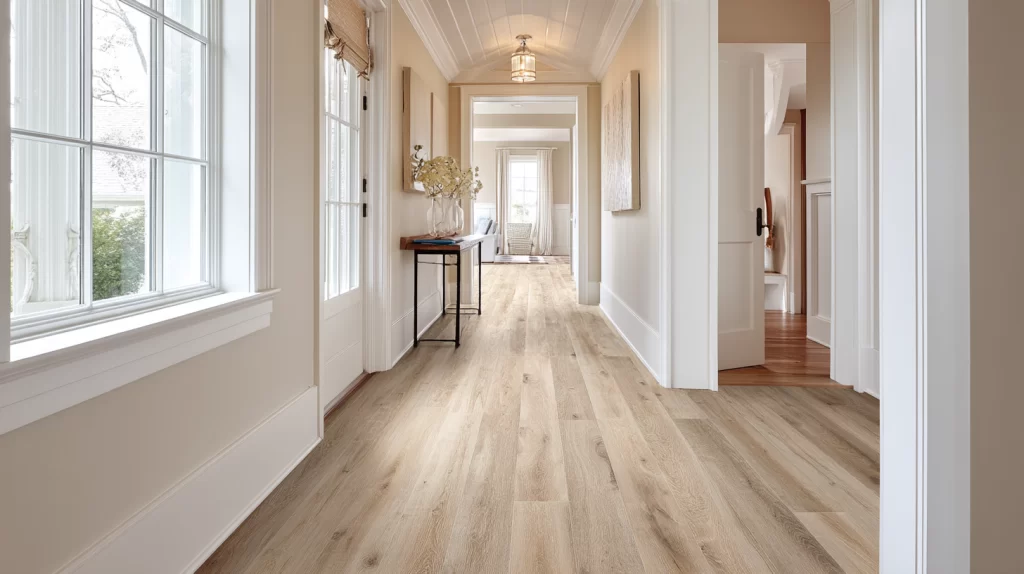
With proper care, vinyl plank flooring can last 10 to 20 years or longer, providing a great return on your investment.
Frequently Asked Questions
Can I install vinyl plank flooring myself?
Yes, with the right tools and preparation, it can be a successful DIY project. However, for large areas or uneven subfloors, professional installation is recommended.
What tools do I need to install vinyl plank flooring?
Basic tools include a utility knife, tapping block, rubber mallet, spacers, knee pads, and a straight edge. A miter saw is useful for angled cuts.
Can I install vinyl plank over a concrete floor?
Yes, as long as the surface is clean, dry, and level. Use a moisture barrier if required.
Do I need to remove baseboards?
In many cases, you can gently loosen or leave baseboards in place and use quarter round to cover the expansion gap. For a cleaner look, you may choose to remove baseboards before installation.
How do I cut vinyl planks?
Most cuts can be made with a utility knife. For more complex or angled cuts, a miter saw provides a clean edge.
Ready to Install Vinyl Plank Flooring? We’ll Bring the Showroom to You
If you’re thinking about installing vinyl plank flooring in your home, let Best Floor Coverings help. Our expert team handles everything from planning and layout to subfloor repair, product selection, and final trim. Whether you’re covering a concrete floor, removing old carpet, or simply updating your space with luxury vinyl plank flooring, we make the process simple and stress-free.