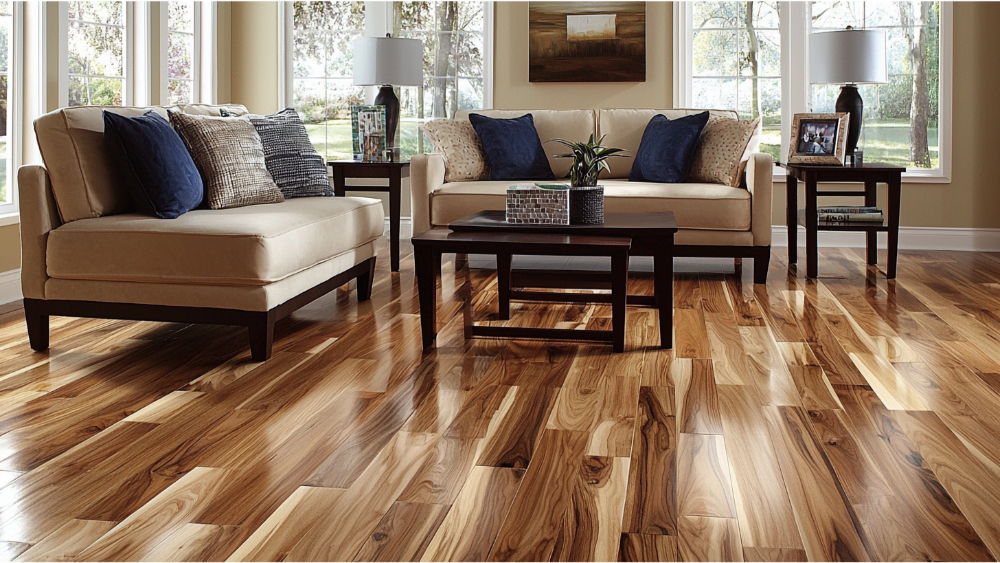

Scratches on hardwood floors can be frustrating and diminish the beauty of your home. Fortunately, there are simple and effective ways to address these blemishes and restore your flooring to its original charm. With the right tools and techniques, you can make your hardwood floors look as good as new.
4 Quick Fixes for Light Scratches
1 | Use a Wood Stain Marker
For minor scratches on wood floors, a wood stain marker can work wonders. Start by cleaning the scratched area with a soft cloth to remove dirt and dust. Gently apply the marker directly over the scratch, matching the color of your floor. Buff the area lightly with a clean cloth to blend the stain and restore the wood’s appearance.
2 | Apply Wood Filler
For light yet noticeable scratches, a wood filler can be a simple solution. Choose a filler that matches your floor’s color and carefully apply it into the scratch. Smooth the surface with a putty knife and allow it to dry. Once set, lightly sand the area and polish with a soft cloth to achieve a uniform finish.
3 | Rub With a Walnut, Coconut, or Olive Oil
For quick, natural fixes, rubbing a walnut or applying coconut oil can diminish minor scratches on wood floors. Break a walnut in half and rub it along the scratch, letting the natural oils soak into the wood. Alternatively, use a small amount of coconut oil on a soft cloth and rub it onto the scratch in a circular motion. Both options nourish the wood and minimize the visibility of scratches.
4 | Polish With a Commercial Scratch Remover
Lightweight scratches can also be hidden using a commercial wood floor scratch remover. Clean the affected area thoroughly and apply the product as directed. Most removers work to fill the scratch while blending its color into the surrounding wood. Finish by buffing the area with a soft cloth to enhance the floor’s overall shine.
3 Ways To Fix Deeper Scratches

1 | Fill the Scratch with Wood Putty
For deeper scratches, wood putty is an excellent solution to restore engineered wood flooring. Start by cleaning the damaged area to remove any dust or debris. Apply the wood putty into the scratch using a putty knife, smoothing it out to ensure it is level with the surrounding wood. Once dry, gently sand the area and finish by applying a protective coating to blend it seamlessly with the floor.
2 | Use a Wax Stick to Conceal Damage
Wax sticks are a quick and practical way to fix scratches on engineered wood flooring. Select a wax stick that matches the color of your floor for the best results. Rub the stick over the scratch, pressing firmly to fill in the damaged area. Once complete, buff the surface lightly with a soft cloth to distribute the wax evenly and restore the hardwood floor’s polished appearance.
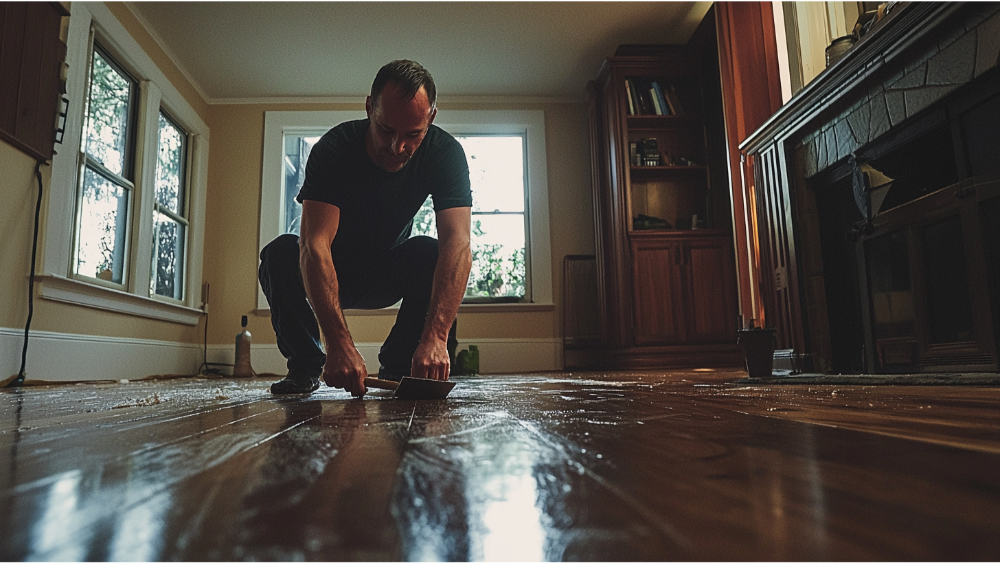
3 | Refinish the Affected Area with Hardwood Floor Polish
Refinishing is an effective method to deal with severe scratches in engineered wood floors. After cleaning the area, apply a high-quality hardwood floor polish to the scratched region. Use a soft cloth or applicator to spread the polish evenly, ensuring it covers the scratch fully. Allow the polish to dry as directed, and your flooring will regain its smooth and uniform finish.
Identify the Type of Scratch
Before attempting to fix scratches on your hardwood floors, it’s crucial to identify the type of scratch you’re dealing with. Different types of scratches may require different tools and techniques for proper repair. Correctly identifying the scratch ensures that you address the issue without causing further harm to the wood grain. Understanding this step saves time and prevents potential damage to the surrounding floor.
Surface Scratches
Surface scratches are shallow marks that only affect the finish of the hardwood floor and not the deeper wood grain. To repair these, gently buff the area with fine grit sandpaper, following the direction of the wood grain. Cleaning the surrounding floor area before applying a fresh coat of finish will ensure a seamless repair. This process protects the entire floor’s appearance and eliminates minor blemishes effectively.
Minor Scratches
Minor scratches go slightly deeper than surface scratches, penetrating the finish and lightly affecting the wood grain underneath. Start by cleaning the area and lightly sanding the scratch with fine grit sandpaper to smooth out the scratched surface. Make sure to blend it with the surrounding floor to achieve uniformity. Follow up with a wood-colored marker or a touch-up kit to restore the color and finish.
Deep Scratches
Deep scratches penetrate both the finish and the wood grain, requiring more advanced repair techniques. Begin by sanding the scratched area with fine grit sandpaper to level it with the surrounding floor. Afterward, use a wood filler that matches the color of your hardwood floor to fill the scratch completely. Once the filler dries, sand the area lightly again to ensure it blends with the entire floor and apply a fresh layer of finish. Proper attention to deep scratches prevents further damage and helps maintain the floor’s integrity.
How to Prevent Future Scratches in Your Hardwood Floors

Use Protective Pads on Furniture
Attach felt or rubber pads to the bottom of all furniture legs to prevent scratching when moving them. This simple addition acts as a barrier between the furniture and the floor, minimizing the risk of damage. Regularly check and replace these pads to ensure they remain effective and prevent wear on your hardwood floor.
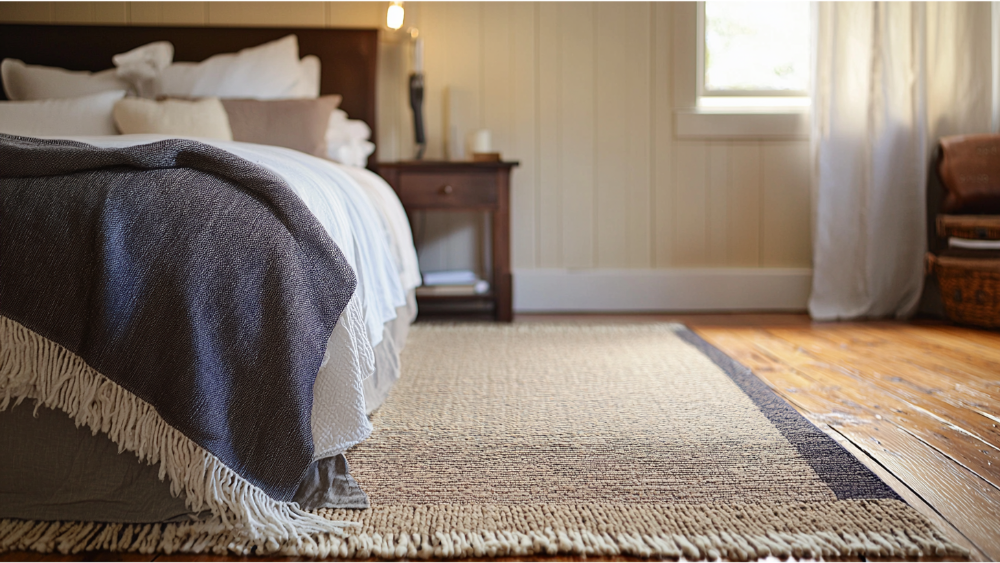
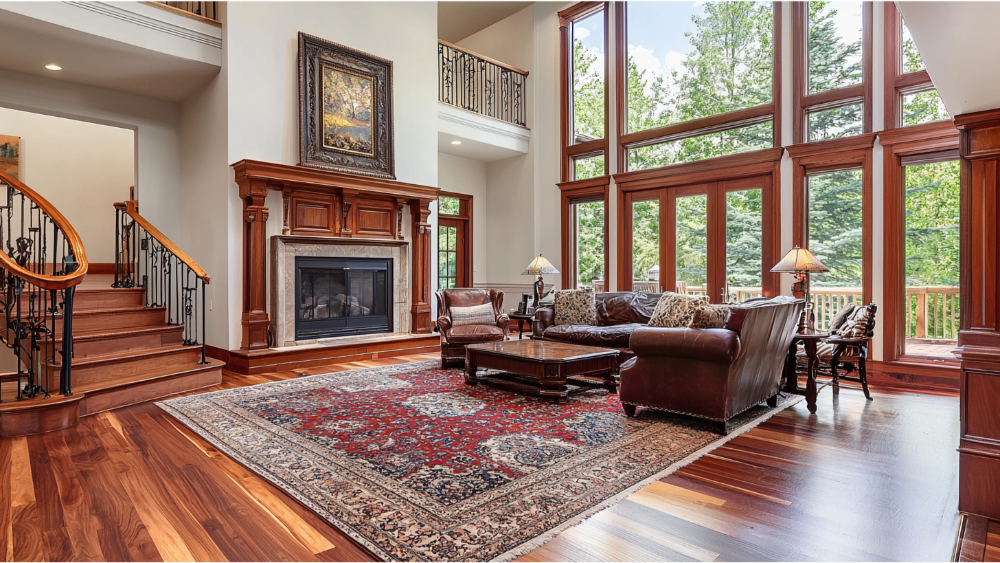
Utilize Rugs and Runners
Place area rugs or runners in high-traffic zones to shield your floors from heavy wear. Ensure that rugs have non-slip backings to avoid accidental movement that could scratch the floor. Matching the rug to your room’s decor preserves the aesthetic appeal while also protecting the flooring.
Maintain Clean Floors
Regularly clean your hardwood floors using a hardwood floor cleaner designed to be gentle yet effective. Dirt and debris act like sandpaper, causing scratches if dragged across the floor. Keeping the floors clean minimizes abrasion and extends their longevity.
Trim Pet Nails
If you have pets, keep their nails trimmed to reduce the potential for scratches while they move around the house. Longer nails can gouge or visibly damage flooring over time. Maintaining proper pet grooming not only protects your floor but also contributes to their overall health.
Choose Matching Stains for Repairs
Keep a matching stain handy for quick touch-ups on small nicks or scratches that may occur. Addressing minor damage promptly prevents it from worsening or becoming unsightly. This easy step helps your floor retain its uniform appearance over the long term.
When to Call a Professional
Deep Scratches or Gouges
If your flooring has deep scratches or gouges that penetrate through the finish and expose raw wood, it’s a good idea to call a professional. These types of damage can worsen over time if left untreated, potentially leading to further splintering or moisture damage. A flooring expert has the tools and skills necessary to repair or replace the affected areas seamlessly.
Water Damage
Significant water damage, such as warping, buckling, or discoloration, requires professional attention. Water can weaken the structural integrity of your flooring and lead to mold growth if not properly addressed. Professionals can assess the extent of the damage and recommend effective solutions, such as board replacement or drying techniques.
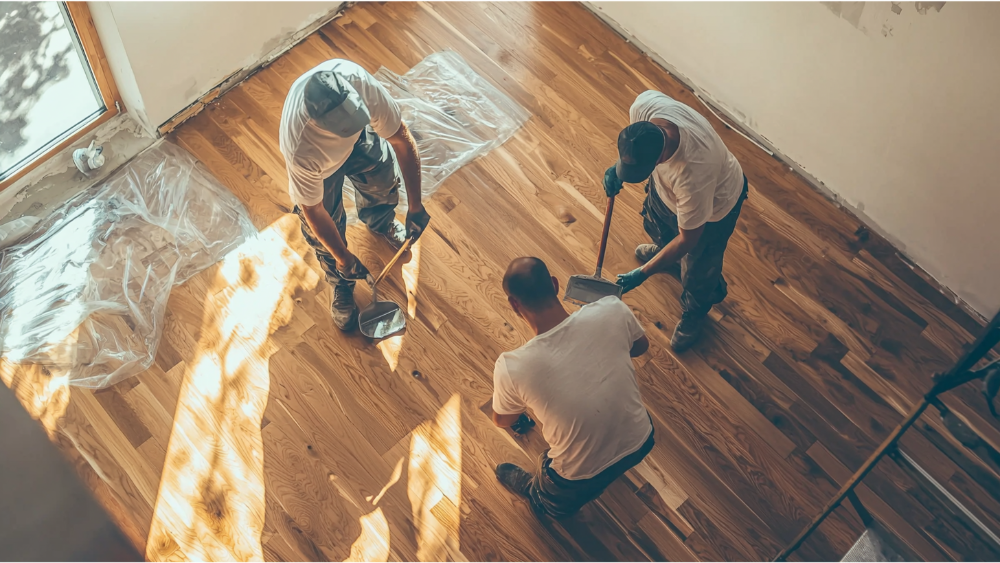
Refinishing Worn-Out Floors
When the surface finish of your flooring is faded, excessively scratched, or losing its luster, it may need refinishing. This process involves sanding down the old finish and applying a new protective layer, which is best handled by an expert. A professional can ensure the refinishing is done evenly and maintains the quality of the wood beneath.
Unstable or Squeaky Boards
If your flooring has loose, creaking, or unstable boards, it’s time to bring in a professional. These issues can be caused by underlying structural problems, such as loose fasteners or shifting subflooring. An expert can identify the root cause and provide a durable repair to restore stability and prevent further damage.
Frequently Asked How To Remove Scratches From Hardwood Floors? Questions
Do scratches come out of hardwood floors?
Yes, scratches can often be removed from hardwood floors depending on their severity. Minor surface scratches may be repaired using hardwood floor cleaners or a stain that matches the wood. For deeper scratches, sanding and refinishing the affected area might be necessary to restore the floor’s original appearance.
What is the best product for scratches on hardwood floors?
The best products for scratches on hardwood floors include wood fillers, stain markers, and scratch repair kits specifically designed for hardwood. These products work effectively to conceal or repair scratches, blending seamlessly with the floor’s finish. Make sure to follow the manufacturer’s instructions for the best results.
How to get rid of dog scratches on hardwood floors?
To get rid of dog scratches on hardwood floors, start by cleaning the area thoroughly to remove dirt and debris. Then, use a wood filler or a stain marker that matches your floor’s color to conceal the scratches. Finally, apply a protective finish to restore the surface and prevent further damage.
Conclusion
Dealing with dog scratches on hardwood floors can seem challenging, but with the right approach, it’s a manageable task. By cleaning the area, using suitable repair products, and applying a protective finish, you can effectively restore the beauty of your floors. Regular maintenance and preventative measures, such as trimming your dog’s nails and using rugs in high-traffic areas, can also help protect your floors in the future. With consistent care, your hardwood floors can remain both durable and visually appealing for years to come.